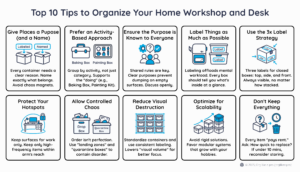
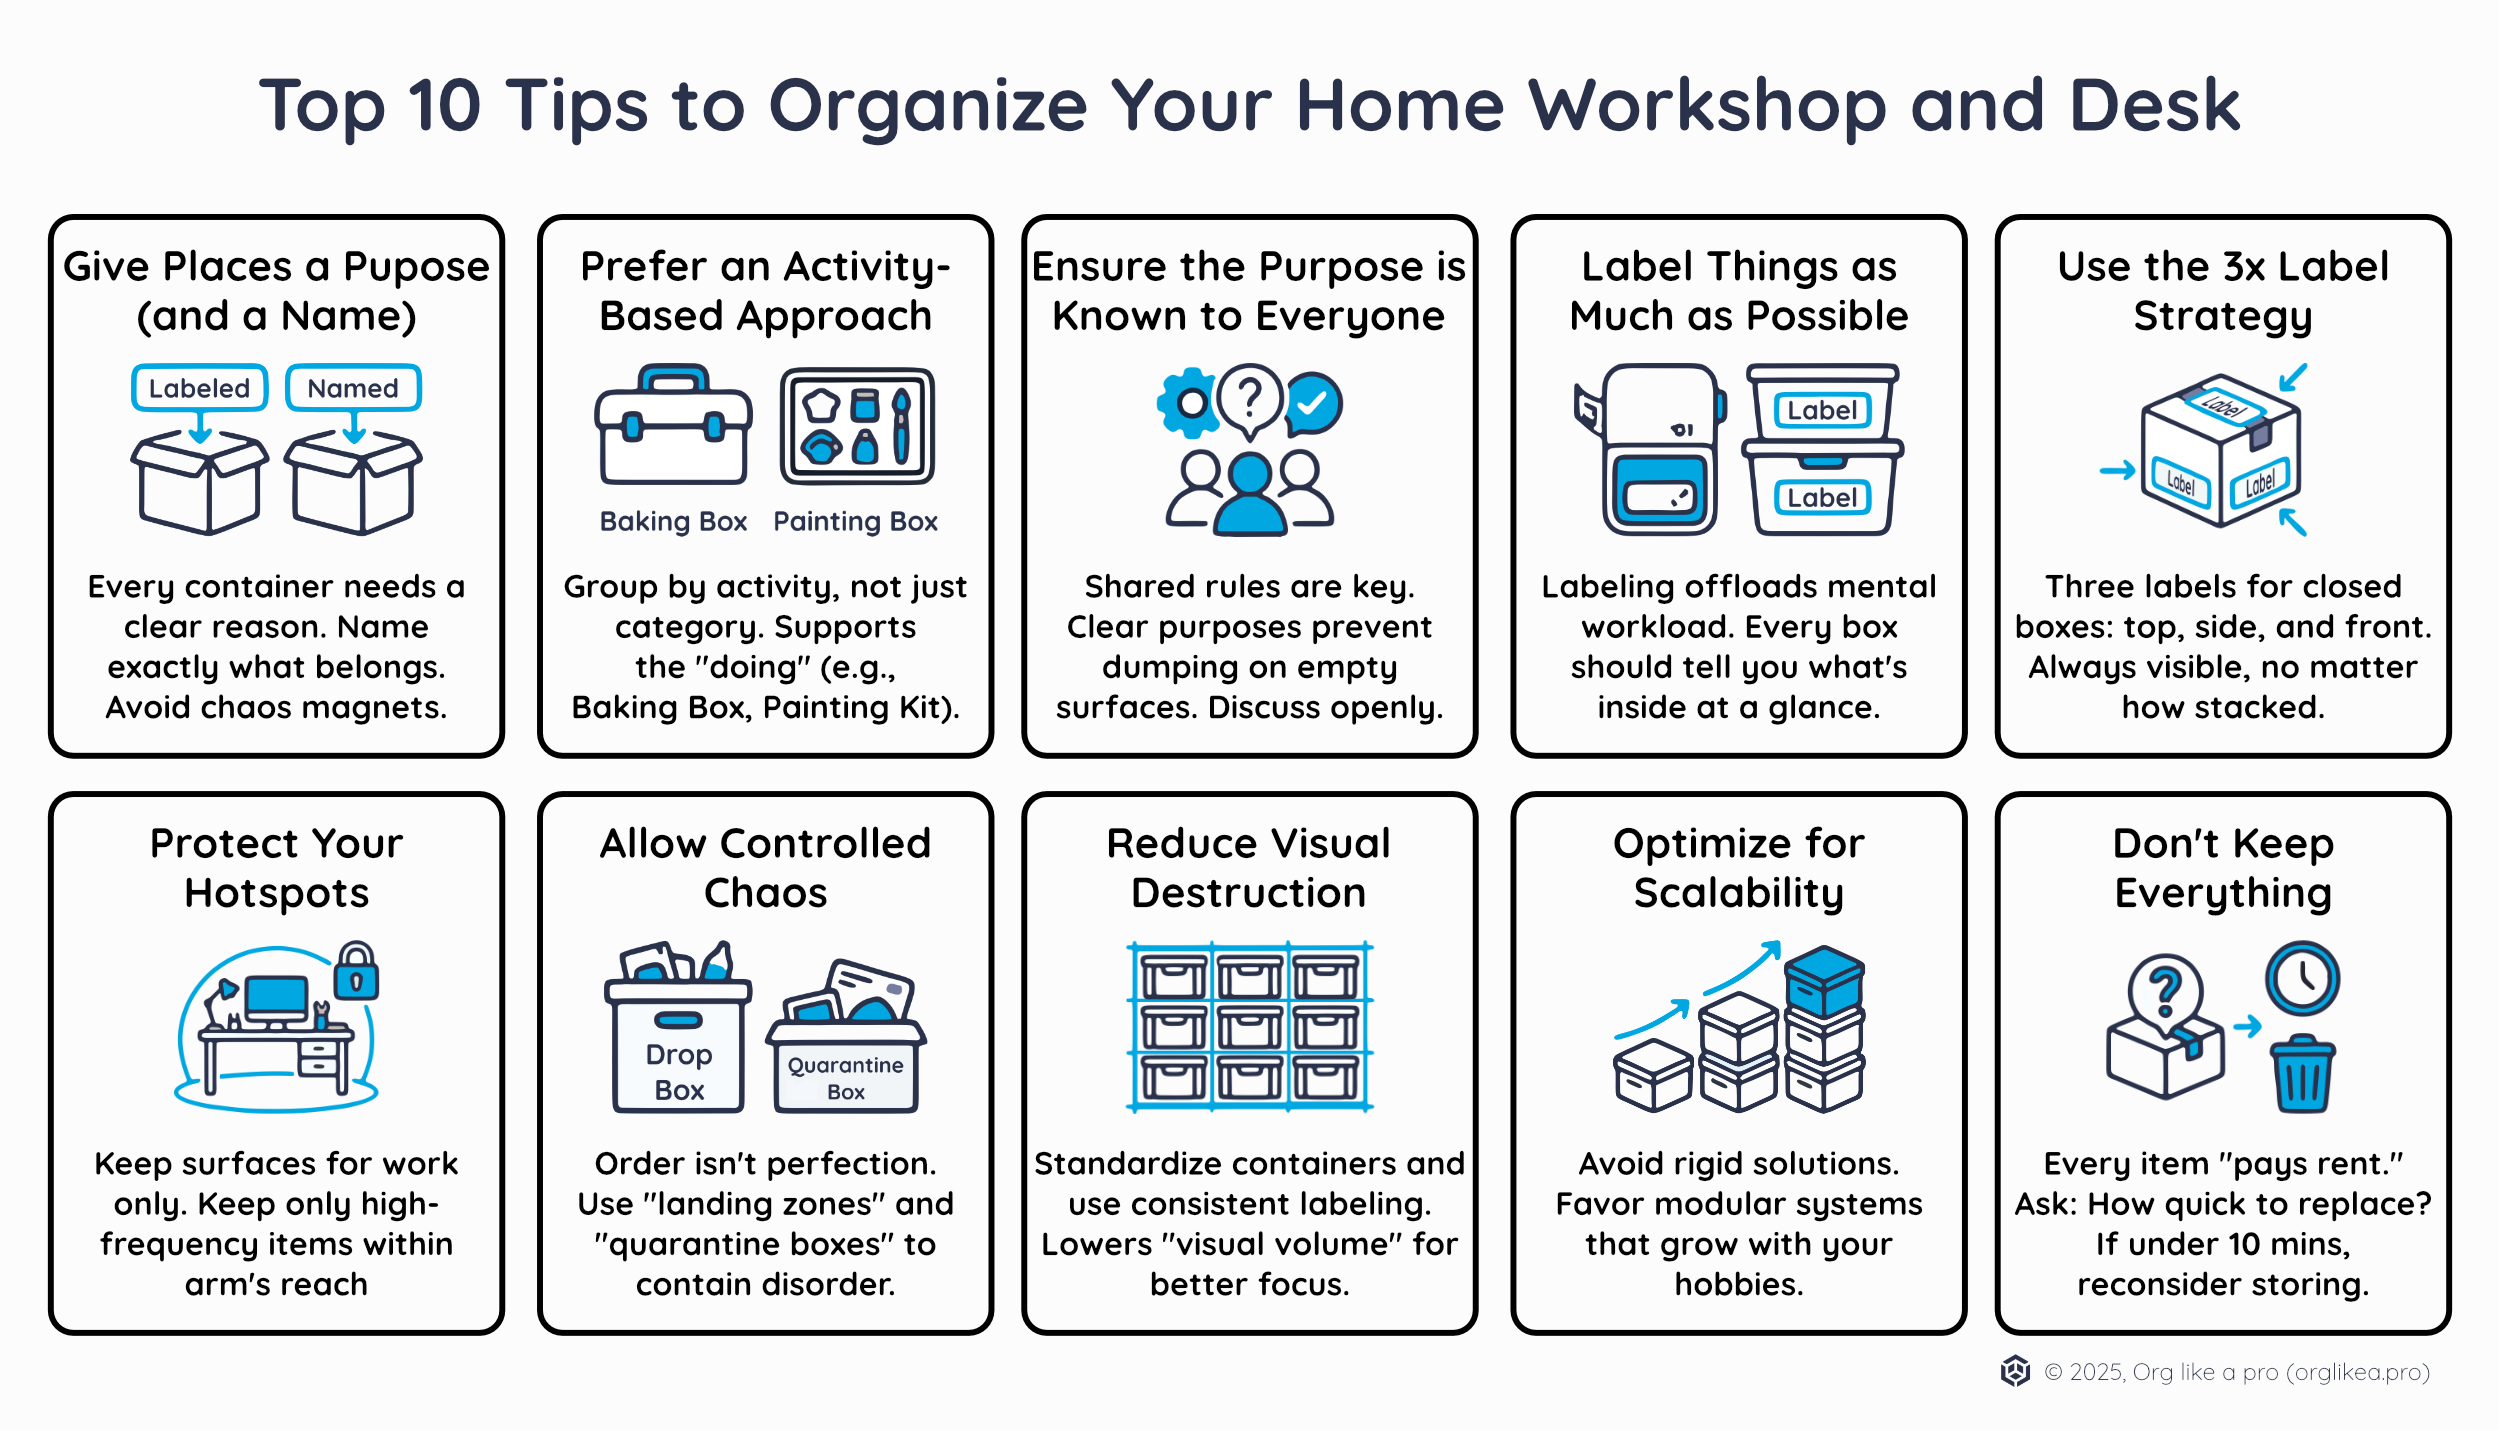
Best 10 Tips to Organize Your Home Workshop and Desk
We’ve all been there: the “junk drawer” that has expanded to claim an entire shelf, or the workbench buried under projects. Often, we tell ourselves that the genius masters chaos, but in reality, a lack of structure is a drag on efficiency.
If you are looking for the best 10 tips to organize your home workshop and desk, it is important to remember that order shouldn’t be a rigid set of rules; it should be functional, alive, and designed to let you start your work immediately.

1) Give Places a Purpose (and a Name)
Every container, shelf, or drawer needs a clear reason for existing. When an object doesn’t have a defined home, it becomes “clutter.” Even if you only maintain this map in your mind, you should be able to name exactly what belongs in each spot. If you can’t describe the purpose of a box, it’s likely just a “chaos magnet.” Establishing these boundaries is the first step toward a system that grows with you.
TIPP
We have more detailed article about many of such topics which can be found here.
Beside of this we have an tool providing you with an example structure for a regular household. Feel free to get some inspiration here ✨.

2) Prefer an Activity-Based Approach
Many people make the mistake of grouping things by category—putting all screws in one place and all brushes in another. While logical on paper, this often forces you to visit five different locations just to start one task. Instead, group items by the activity they support.
- The “Baking Box”: Contains your silicone brush, spatula, and measuring cups all in one place.
- The “Painting Kit”: Keeps brushes, rollers, and masking tape together so you can grab-and-go.

3) Ensure the Purpose is Known to Everyone
A system only works if everyone interacting with it understands the rules. If you live or work with others, a “mental map” isn’t enough. If the purpose of a shelf isn’t clear, people will naturally default to the path of least resistance—dumping things wherever there is an empty surface. Discuss these purposes openly. When everyone agrees on what goes where, the system becomes a shared habit rather than a personal chore.

4) Label Things as Much as Possible
Labeling isn’t just for the ultra-organized; it’s a way to offload mental workload. By putting a label on a container, you are making a definitive statement about its purpose.
- Focus on Containers: You don’t need to label every individual pen, but every box should tell you what’s inside at a glance.
- Tools for the Job: We provide dedicated tools to help with this. Check out our Niimbot label generator (make use of the count function! 😉) and our regular label generator.

5) Use the 3x Label Strategy
For regular closed boxes, put three labels on them: one on the top, one on the side, and one on the front.
- Maximum Visibility: This ensures that no matter how you stack or rotate the box, you can always see the label.
- Context Matters: For boxes with a clear front, one label makes sense; for top-open bins, use two (front and side). This redundancy makes reorganizing effortless.

6) Protect Your Hotspots
In every room, there are “Hotspots”—surfaces like your desk, the kitchen counter, or the workbench—where work actually happens. These areas are prone to “clutter creep,” where items without a home slowly migrate and settle. To keep your creativity flowing, you must protect these zones:
- High-Frequency Items: Keep only what you use daily within arm’s reach.
- The Desktop Rule: Treat your desktop as a “work-only” zone rather than a storage area. This ensures you can start a new project instantly without having to clear a space first.

7) Allow Controlled Chaos
Order doesn’t mean being a perfectionist 24/7; it means having a system that can handle the mess of real life. Instead of fighting every stray item, use deliberate “landing zones” to contain disorder:
- Drop Boxes: Place containers in strategic spots where items can wait until you have the energy to sort them properly.
- Quarantine Boxes: If you aren’t sure whether to keep something, put it in a box with an “expiration date.” If you haven’t touched it after a few months, you can let it go with a clear conscience.

8) Reduce Visual Destruction
A workspace that feels “noisy” to the eyes is a workspace that drains your focus. When your containers and labels speak different visual languages, your brain spends extra energy processing the environment.
- Standardize Your Containers: Use uniform sizes—like our 40mm or 42mm grids—so they fit together like a puzzle.
- Visual Calm: When your storage looks consistent, the “visual volume” of the room goes down, allowing you to focus entirely on the task at hand.

9) Optimize for Scalability
Your needs will change as your hobbies and projects evolve. Avoid rigid, one-size-fits-all solutions. Instead, favor modular systems—like our open-source cardboard modules or stackable Euroboxes—that allow you to add, remove, or rearrange parts without having to start from scratch. Your organization should be “alive” and ready to grow with you.

10) Don’t Keep Everything
Everything you own “pays rent” in the form of the space it occupies and the mental energy required to manage it. Before you decide to store a backup or a “just in case” item, ask yourself:
- How quick can it be replaced? If you can pick it up at a local store in 10 minutes for a few euro-cents, it’s probably not worth the “rent” it pays on your shelf.
- Does it lose value? Many items, like old electronics or certain chemicals, become obsolete or degrade over time.
By following these best 10 tips to organize your home workshop and desk, you create a space that feels professional yet human—a place where order serves your creativity.